Common mistakes using vibration meter UK: common Mistakes Using a Vibration Meter UK (And How to Avoid Them)
Most false alarms when using a handheld vibration meter come from three everyday habits: poor probe placement, the wrong measurement units, and judging a machine from a single one-off reading. Fix those first and you will cut a large share of common mistakes using vibration meter UK checks before you blame the machine or the instrument.
Direct answer: most false alarms come from placement, units and one-off readings
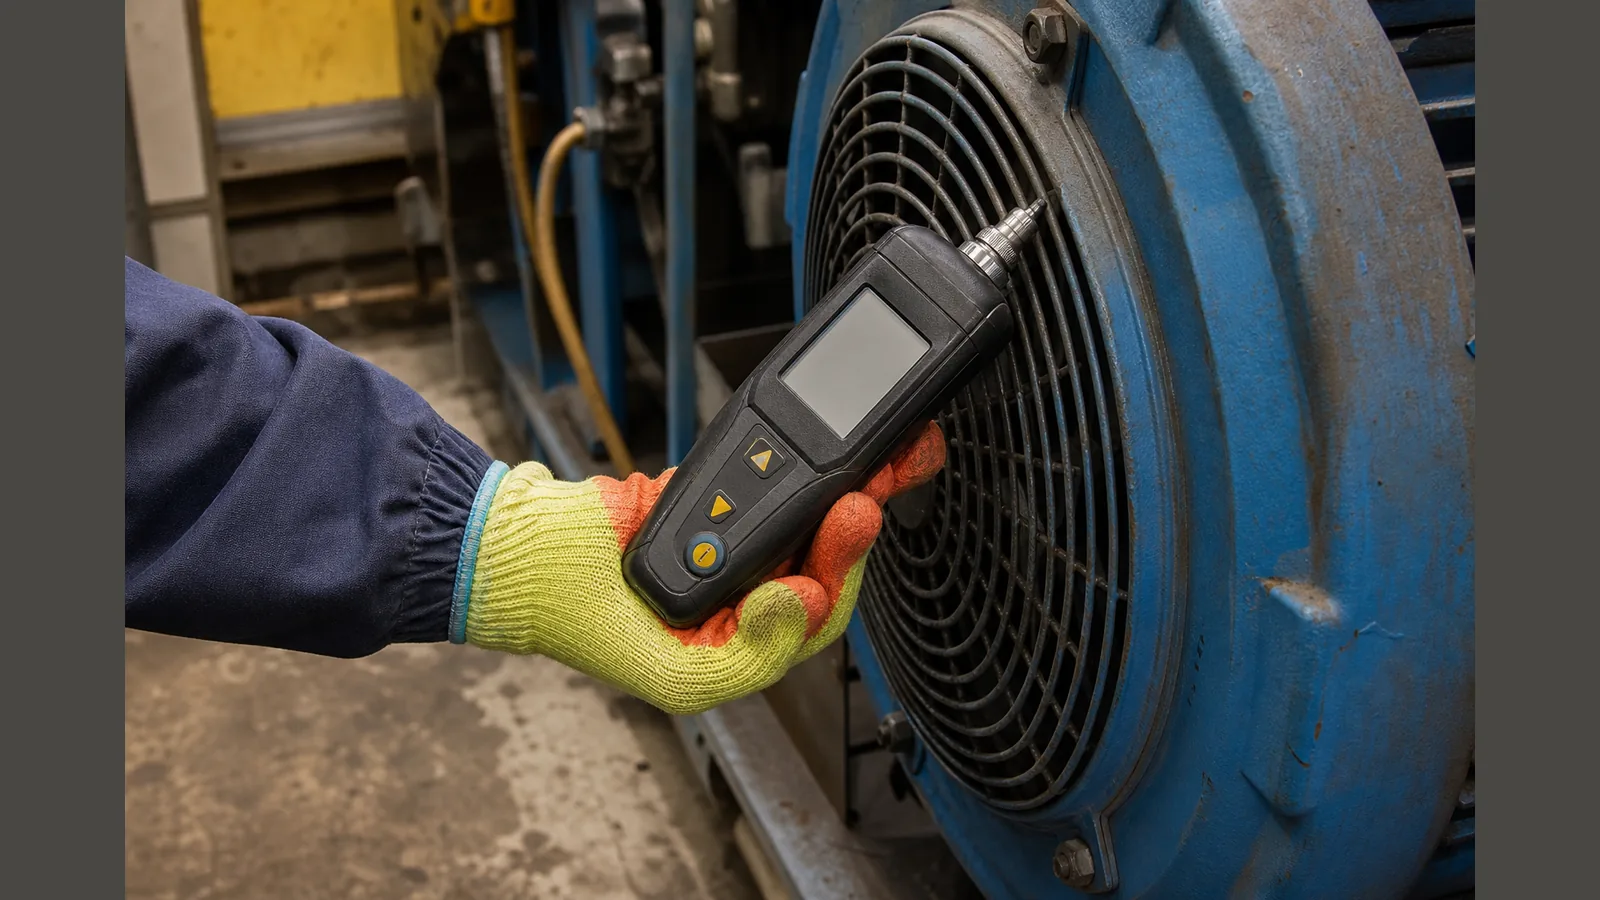
A handheld digital mechanical vibration meter is useful on HVAC plant, motors, engines and generators, but it only reports what the tip senses at that moment. If the probe is loose, the units do not match your notes, or you have no earlier baseline, a sudden “high” number can look like a fault when it is really a process error. Treat every unexpected spike as a measurement question first: where did you place the tip, which unit was selected, and how does the value compare with the same point under the same running condition?
Mistake list with fixes
These are the errors that most often create false alarms on UK plant rounds. Similar “method before meter” thinking appears in guidance on common sound-meter mistakes: incorrect technique produces misleading readings even when the instrument itself is working.
- Loose or angled contact — Hold the tip firmly on a clean, hard measurement point. Soft paint, grease or a glancing angle can add bounce and noise.
- Moving the tip between repeats — Mark the point and return to the same spot. Comparing different locations as if they were the same reading is a classic false alarm.
- Wrong units selected — Confirm whether you are recording velocity, displacement or acceleration before you log the number. Mixing units between rounds makes trends unusable.
- One reading, one conclusion — Take a short set of stable readings at the same point, then compare with your baseline rather than reacting to a single flash on the display.
- Ignoring running condition — Note load, speed and whether the machine is warm. A reading taken at idle is not interchangeable with one taken at full duty.
Baseline and same-condition comparisons
Condition monitoring with vibration measurements is most useful when you track change over time on the same asset, not when you chase absolute numbers in isolation. Build a simple baseline for each critical point while the machine is healthy and running in a known state. Log date, point description, units and operating condition. Later alarms should be judged against that same-condition history. If the process has changed, update the baseline rather than treating the old figure as a fixed “safe” limit.
Machine speed and soft-surface errors
Speed changes alter vibration character, so a reading taken after a drive adjustment, belt change or damper reset needs a fresh same-condition reference. Soft surfaces are another frequent confounder: rubber mounts, flexible covers, thick coatings and handheld probing on thin sheet metal can absorb or distort contact. Prefer solid bearing housings, motor feet or other rigid points, and keep the tip perpendicular. If you must measure near a soft area, record that limitation so the next person does not treat the number as a hard-mounted reading.
Battery and tip wear as measurement confounders
Low battery and a worn or damaged tip can both produce unstable or oddly low/high displays that look like machine faults. Check power before a route, inspect the tip for flat spots or contamination, and replace worn contact parts according to the product guidance. Calibration — verifying the instrument against a known reference — is the formal way to keep readings trustworthy over time; do not assume a shop SKU carries ISO or UKAS certification unless the live product page states it. For range language such as velocity around 0.01~199.9 mm/s on related public listings, always verify the current product page before purchase or specification decisions.
Practical route discipline
Write a short route card: asset, point, units, how the tip is held, and the baseline value for that condition. Walk the route the same way each time. Note anything that changed — filter cleaning, belt tension, mounting bolts, speed set-point — before you escalate a rise as a mechanical failure. Keep this meter’s role clear: it is for machine vibration checks on plant such as HVAC, motors, engines and generators, not for hand-arm vibration (HAVS) exposure assessment. Consistent method beats occasional “extra careful” readings taken with different placement and units.
CTA after troubleshooting mindset
Once placement, units, baselines and route discipline are under control, a handheld meter becomes a clearer decision aid rather than a source of false alarms. Review the current VibMeter Pro handheld vibration meter details to confirm live specifications and suitability for your HVAC, motor, engine or generator checks before you buy or expand your route kit.